2.3.5 | 3/2/2024
Step 2 - Click on Libraries | Step 3 - Select the Library | Step 4 - Click Add Files
Add File to Library in Salesforce
All users can create Personal Libraries in Salesforce on the Files page. This allows users to organize Documents and Templates with ease.
Step 1 - Go to Files ↵
Click on the Files tab, or go the App Launcher to search for Files.
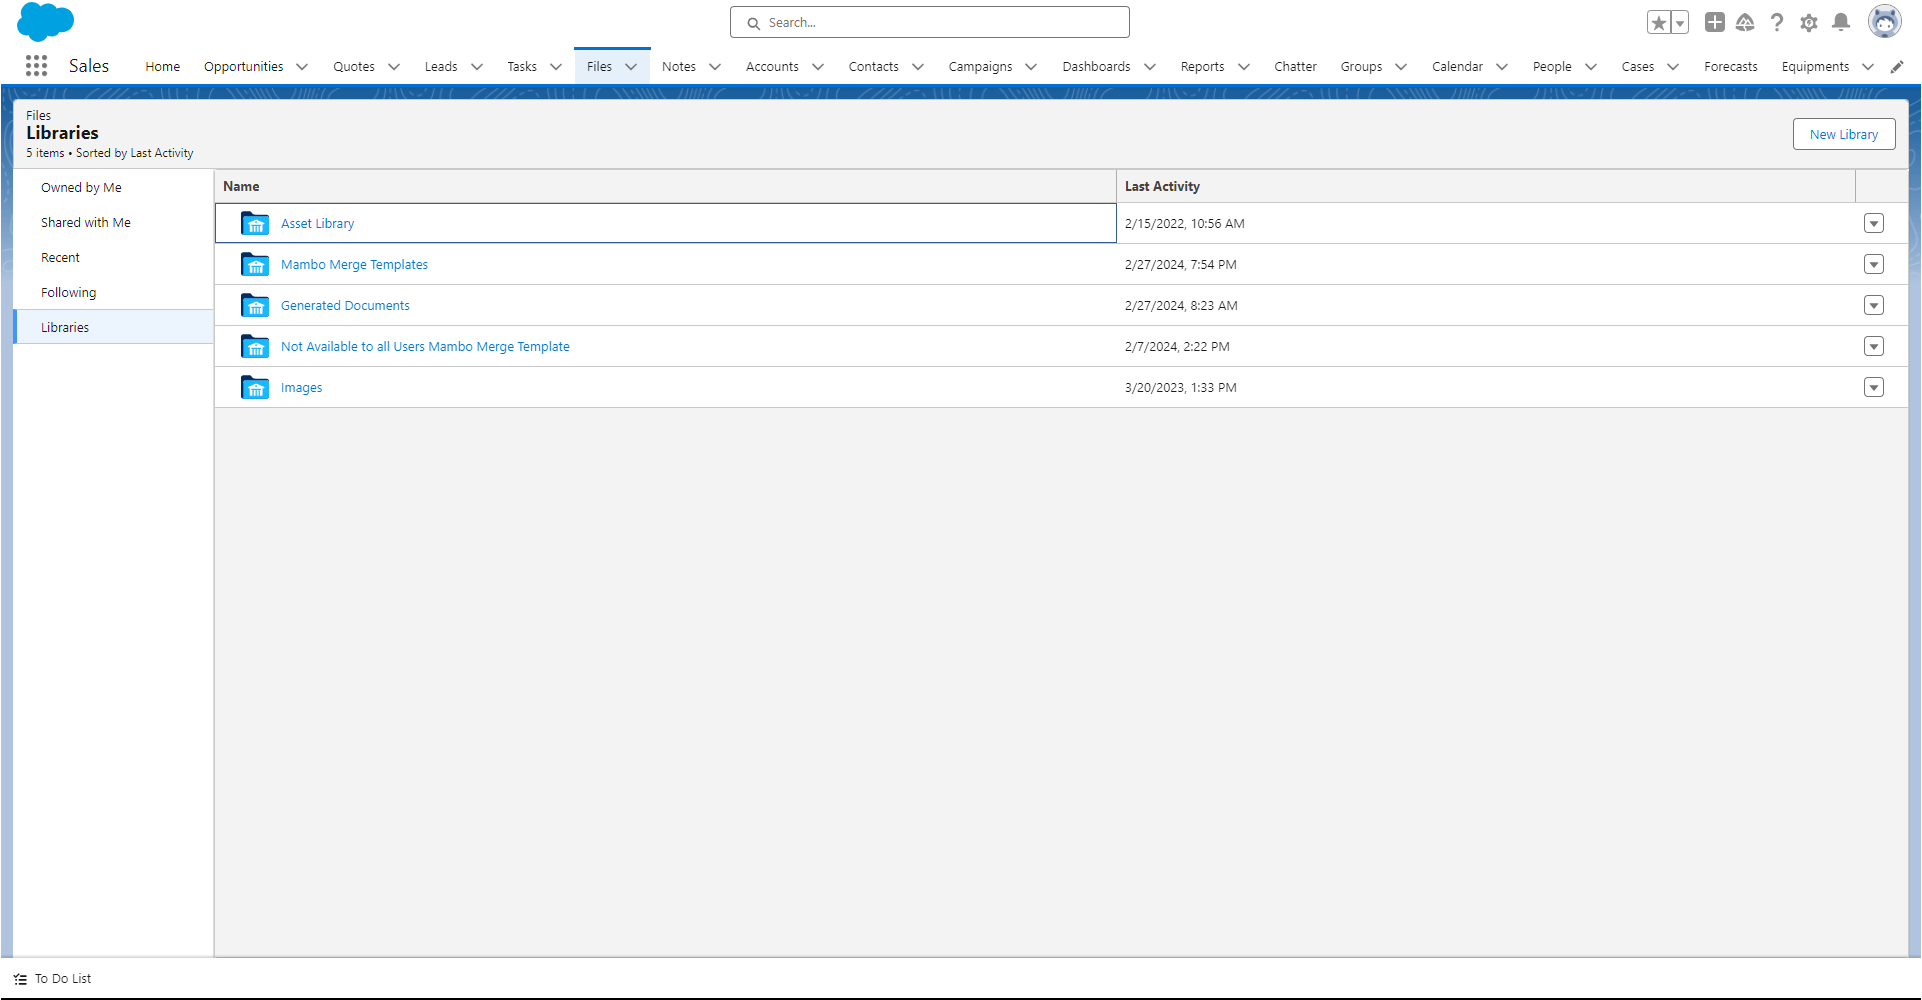
Step 2 - Click on Libraries ↵
On the Left side of the Files Page, Click on Libraries.

Step 3 - Select the Library needed. ↵
All libraries you have access to will be displayed. Select the Library to add the File to.
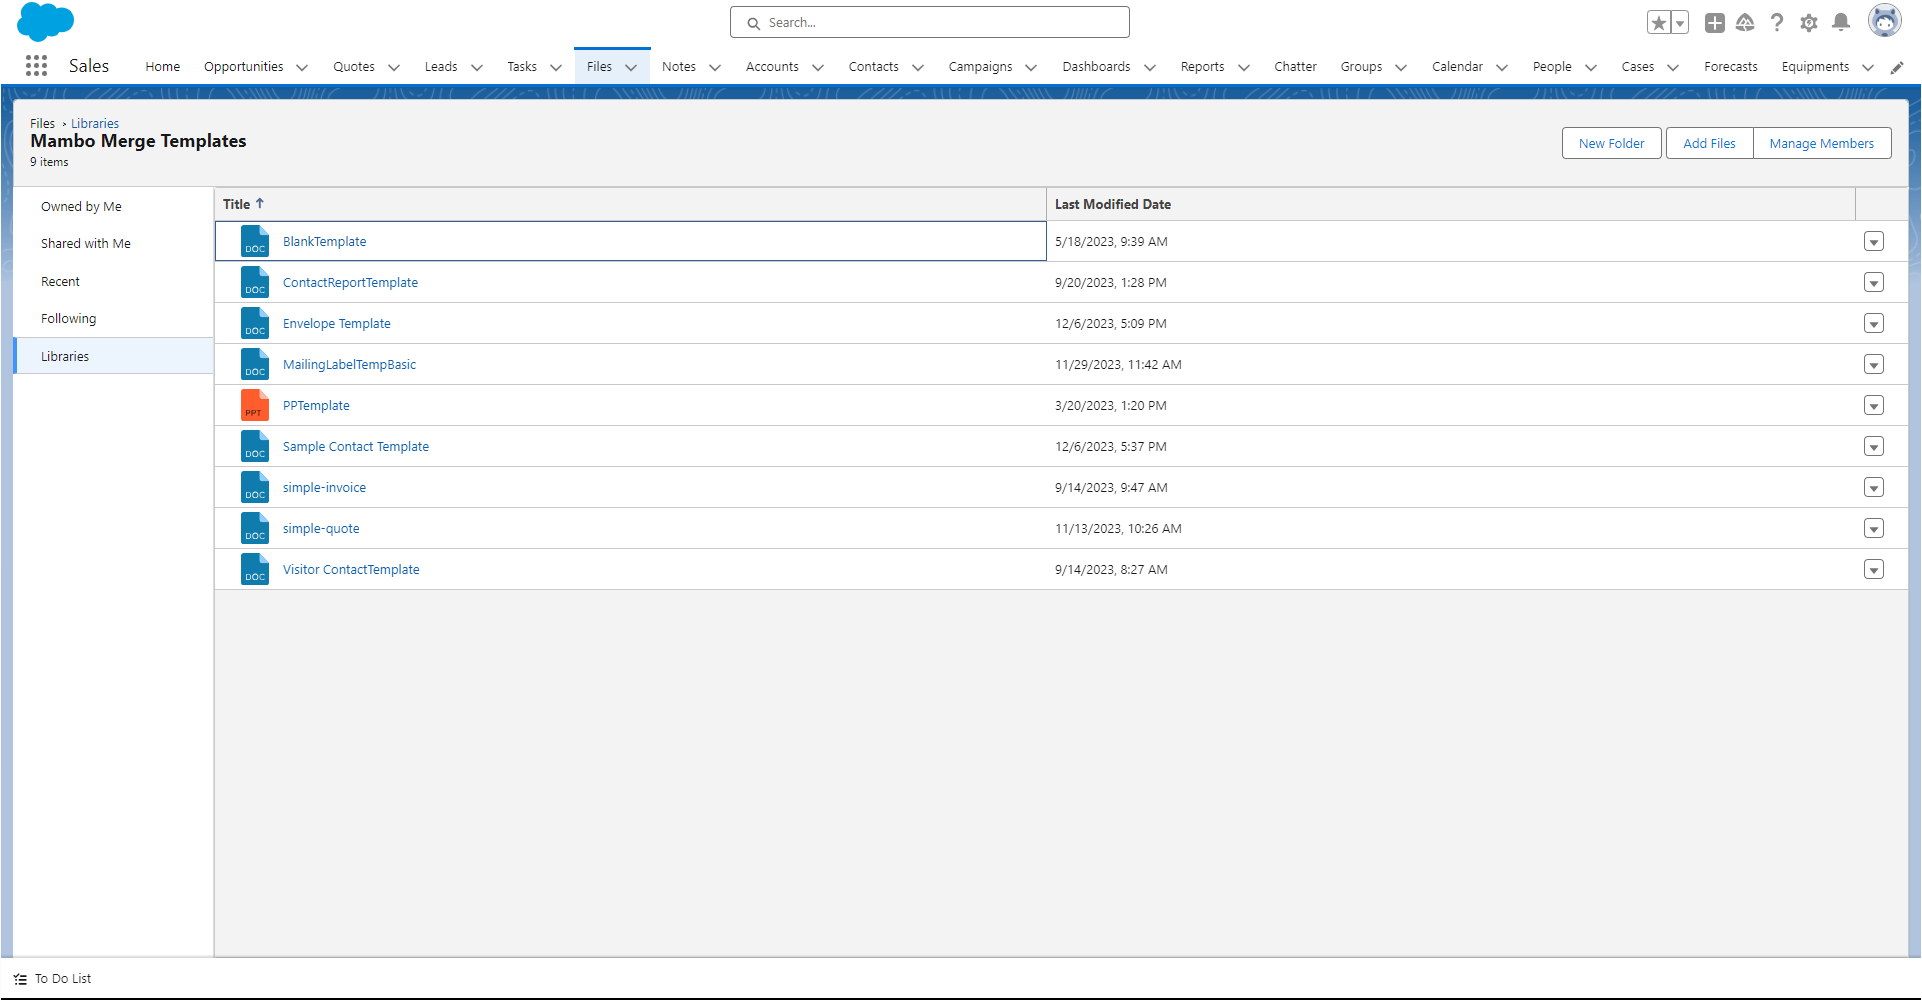
Step 4 - Click Add Files ↵
In the Right corner below the Tab bar, click Add Files.
Here you can choose to add a file from another location in your Salesforce org, or you can click to Upload File to choose from your local computer.
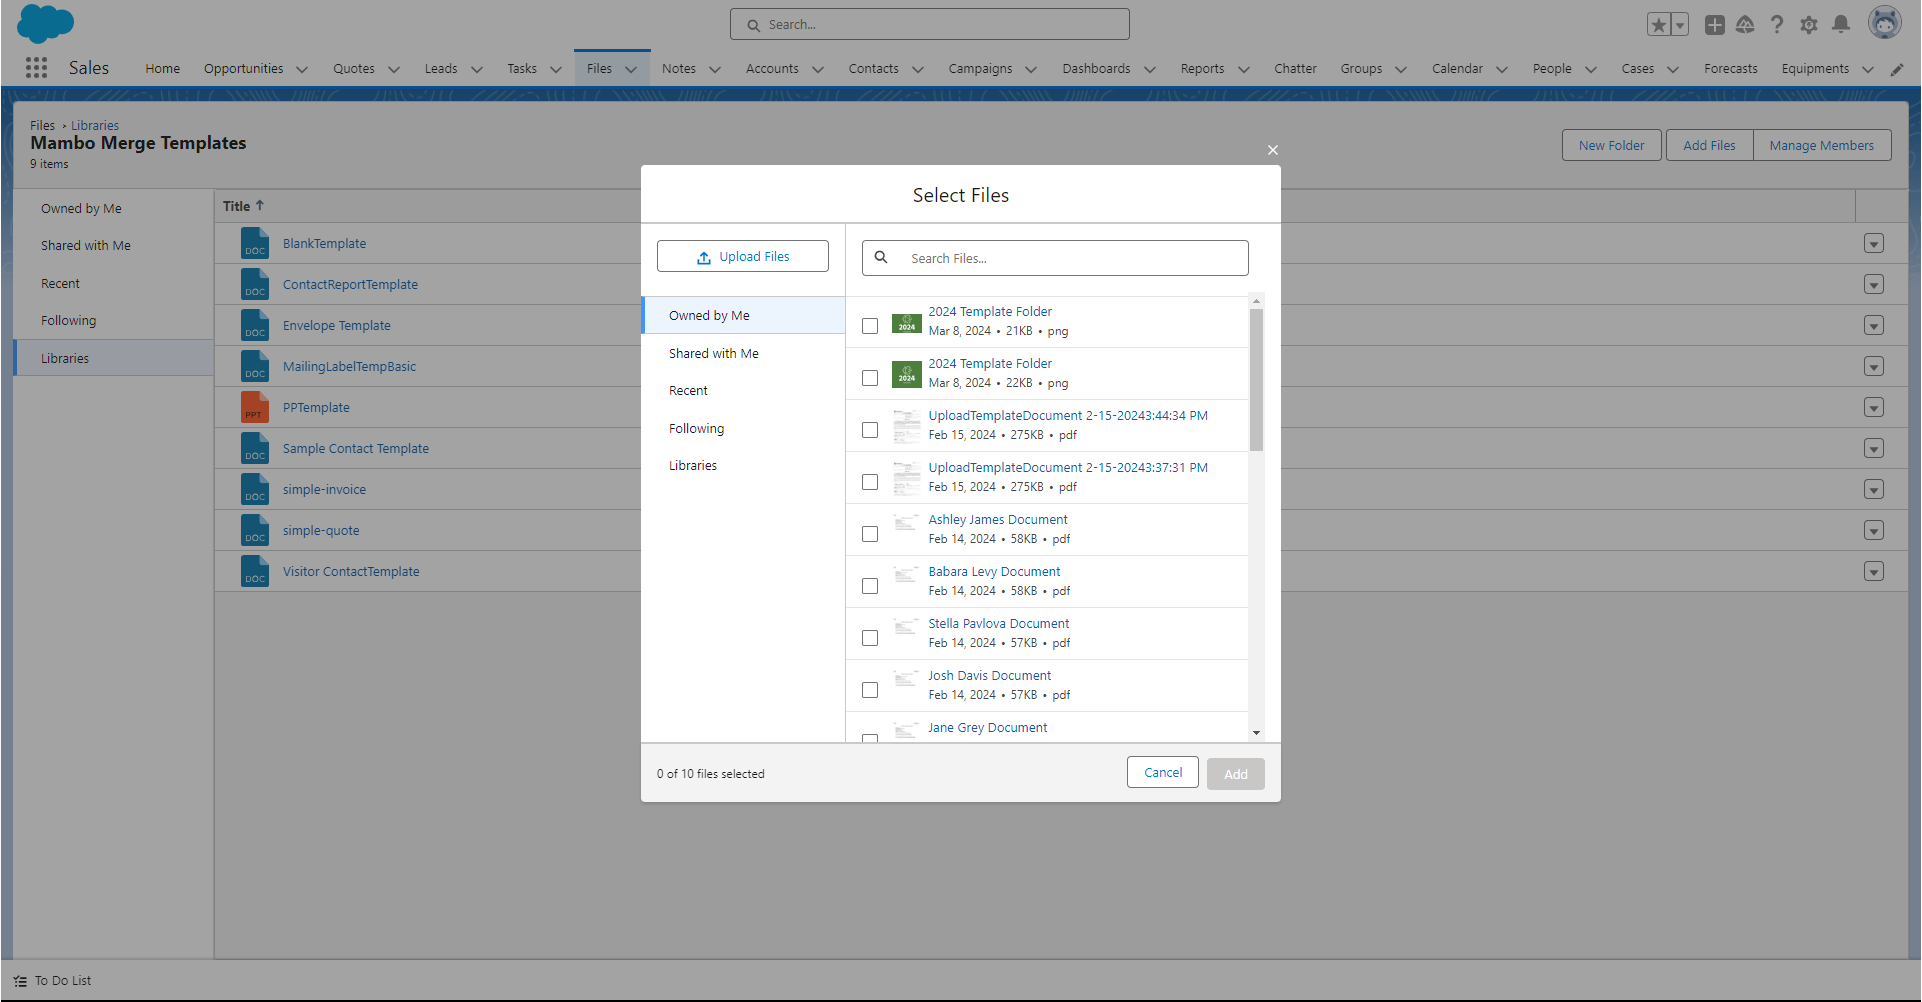
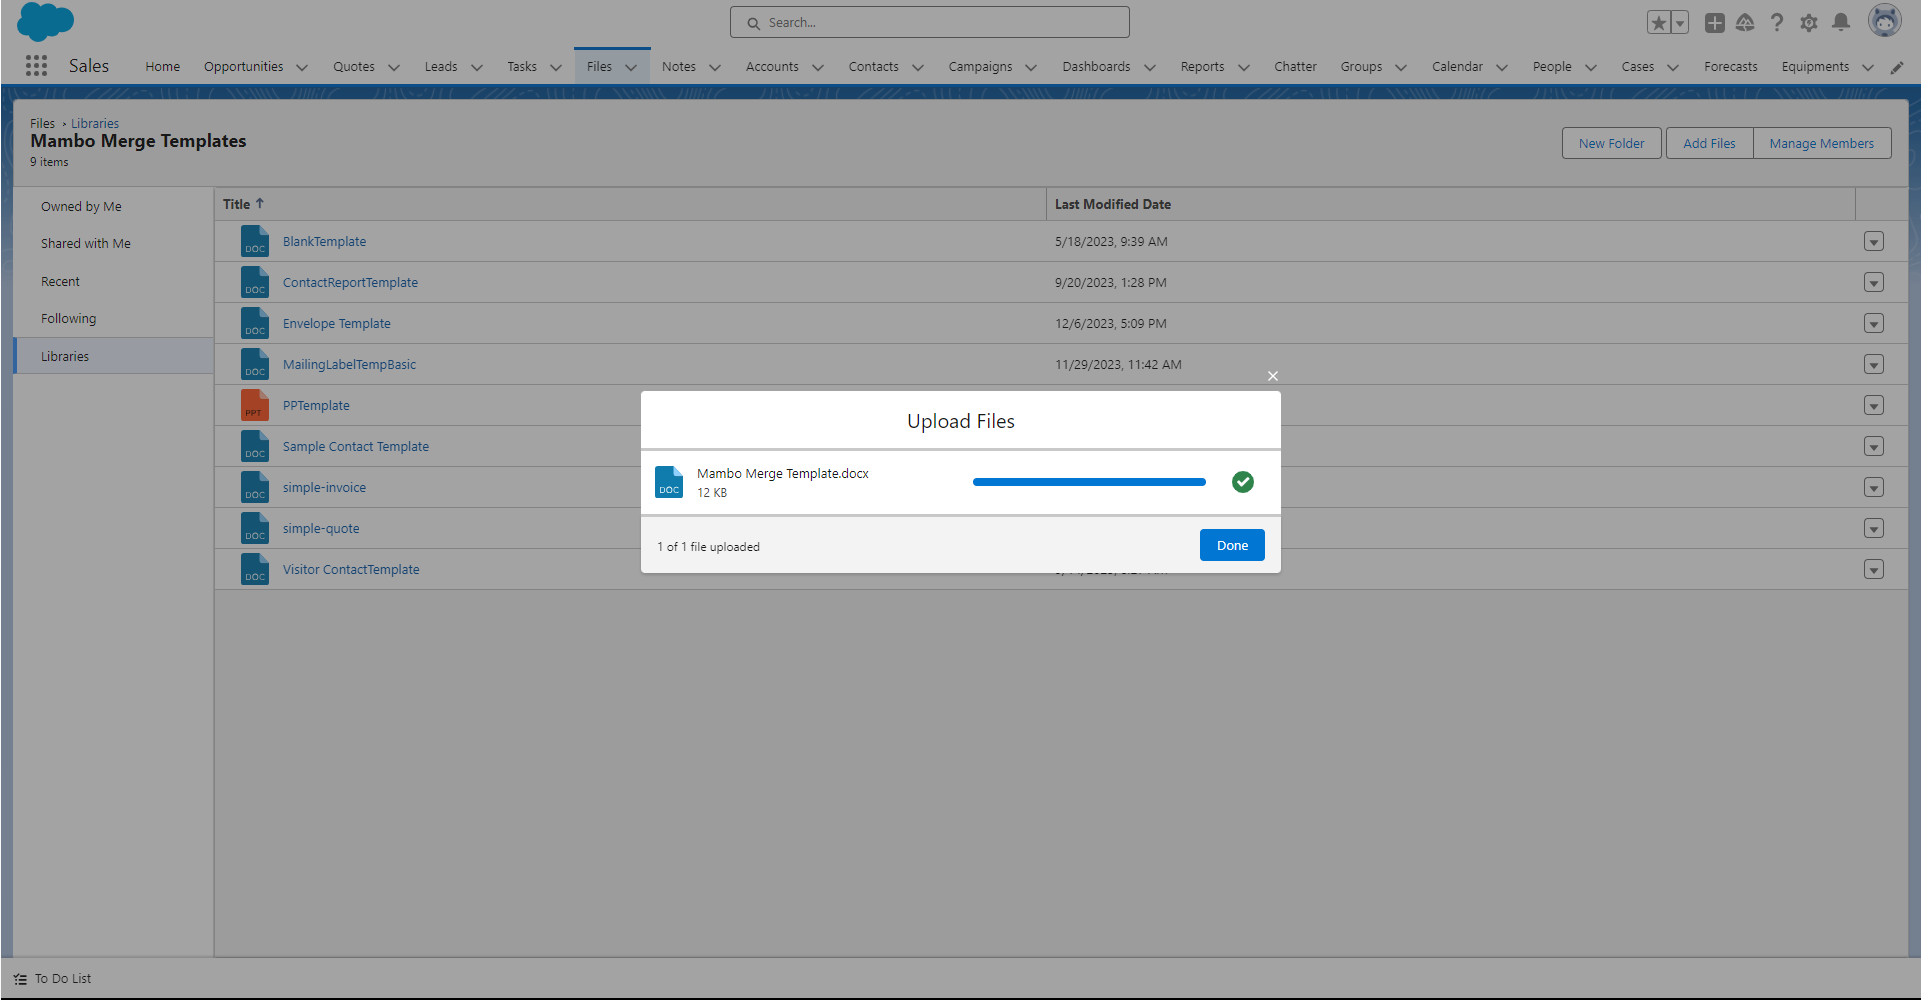
After Selecting your File locally from your computer, the progress bar for the upload appears. After it completes click done.
Congratulations! You just added a file to your Library! ↵
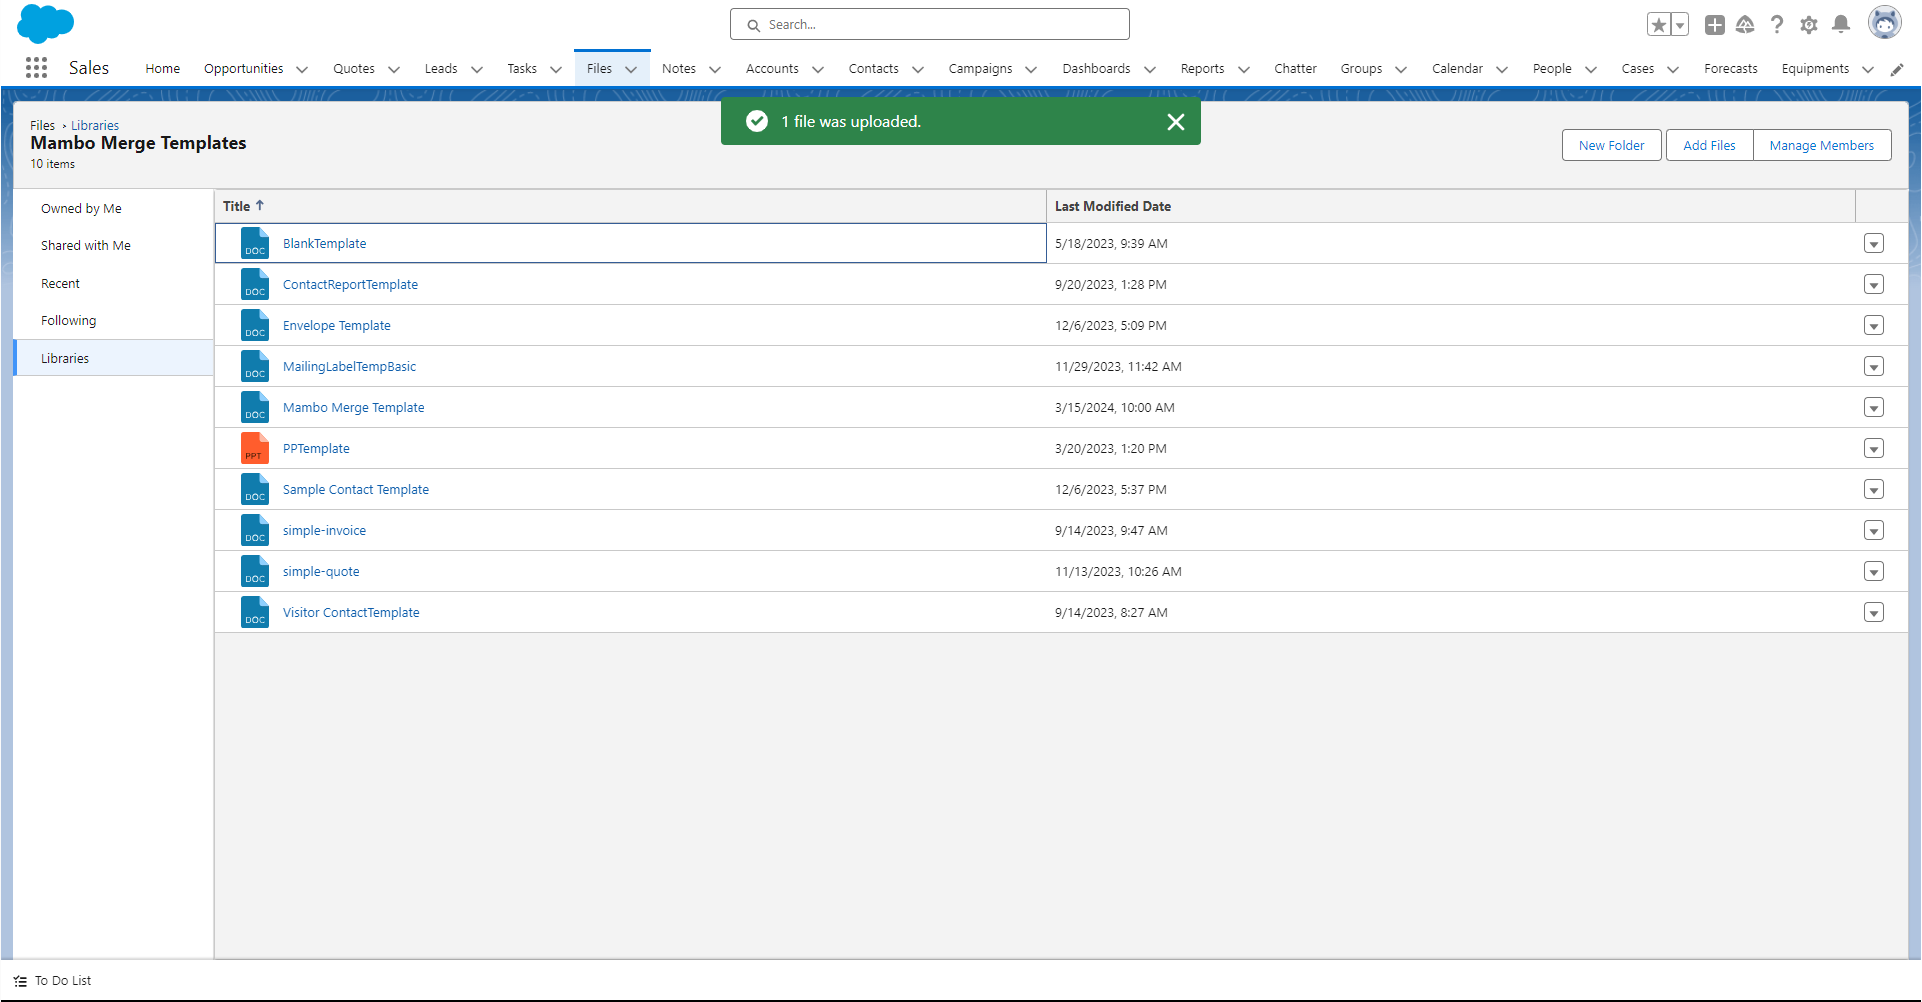
A final green message let’s you know your file is now available and ready in your org.