2.3.5 | 3/2/2024
Step 2 - Click on Libraries | Step 3 - Select the Library | Step 4 - Manage Members | Step 5 - Add Members
Empowering Collaboration: adding Members to a Library in Salesforce
Users can easily manage access for other users or public groups, allowing them to view and use the templates with Mambo Merge.
Step 1 - Go to Files ↵
Click on the Files tab, or the App Menu and search Files.
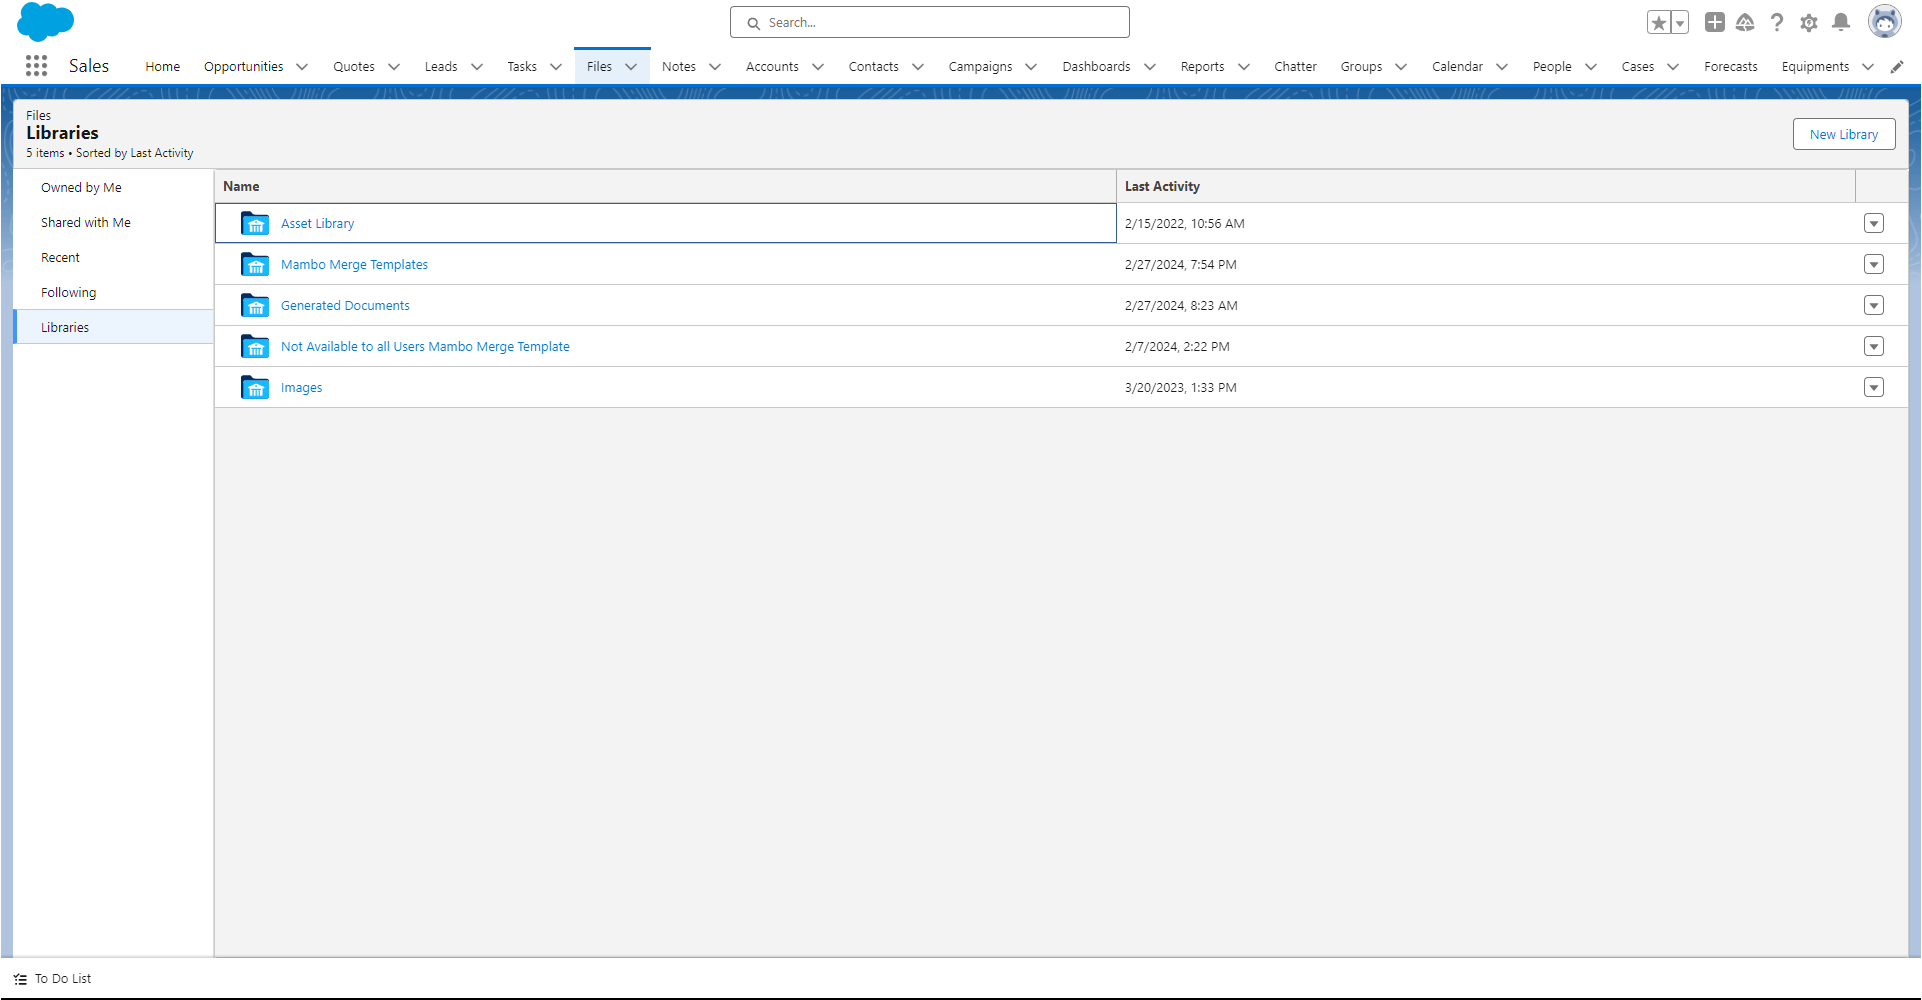
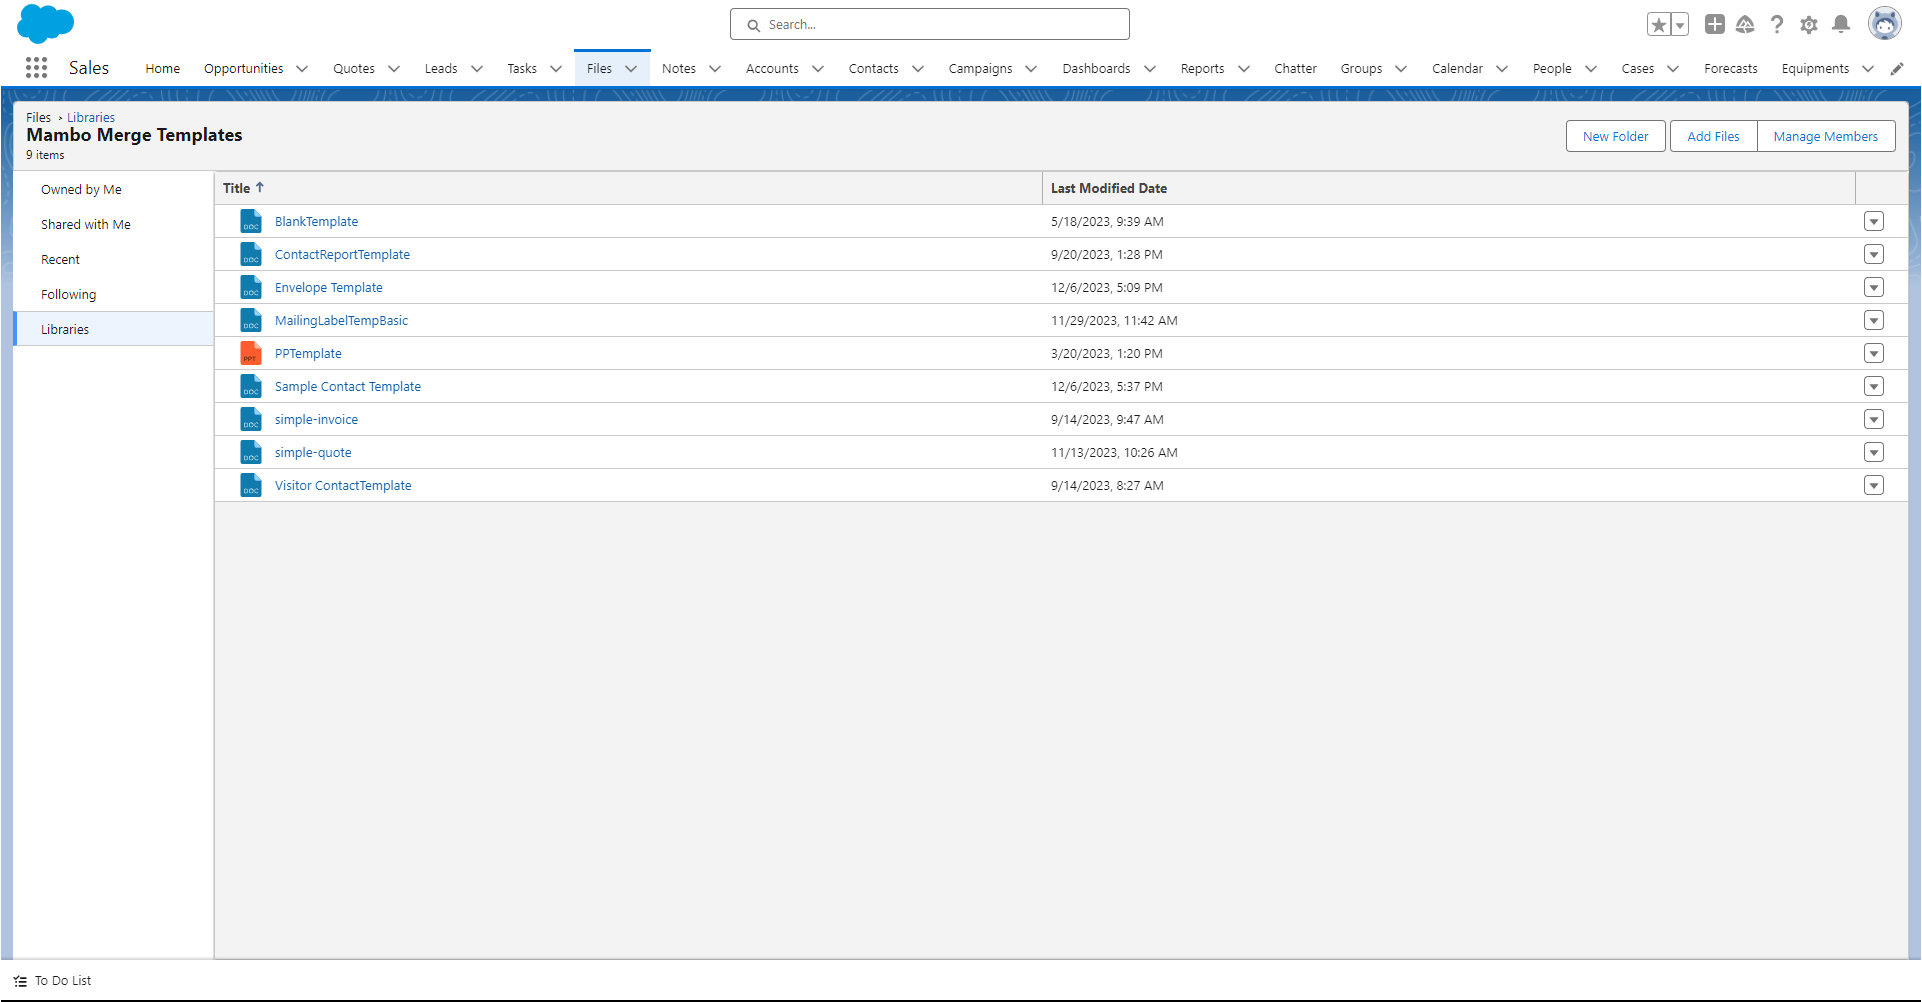
Step 2 - Click on Libraries ↵
On the Left side of the Files Page, Click on Libraries.
Step 3 - Select the Library needed. ↵
All libraries you have access to will be displayed. Select the Library you need to add Users to access.
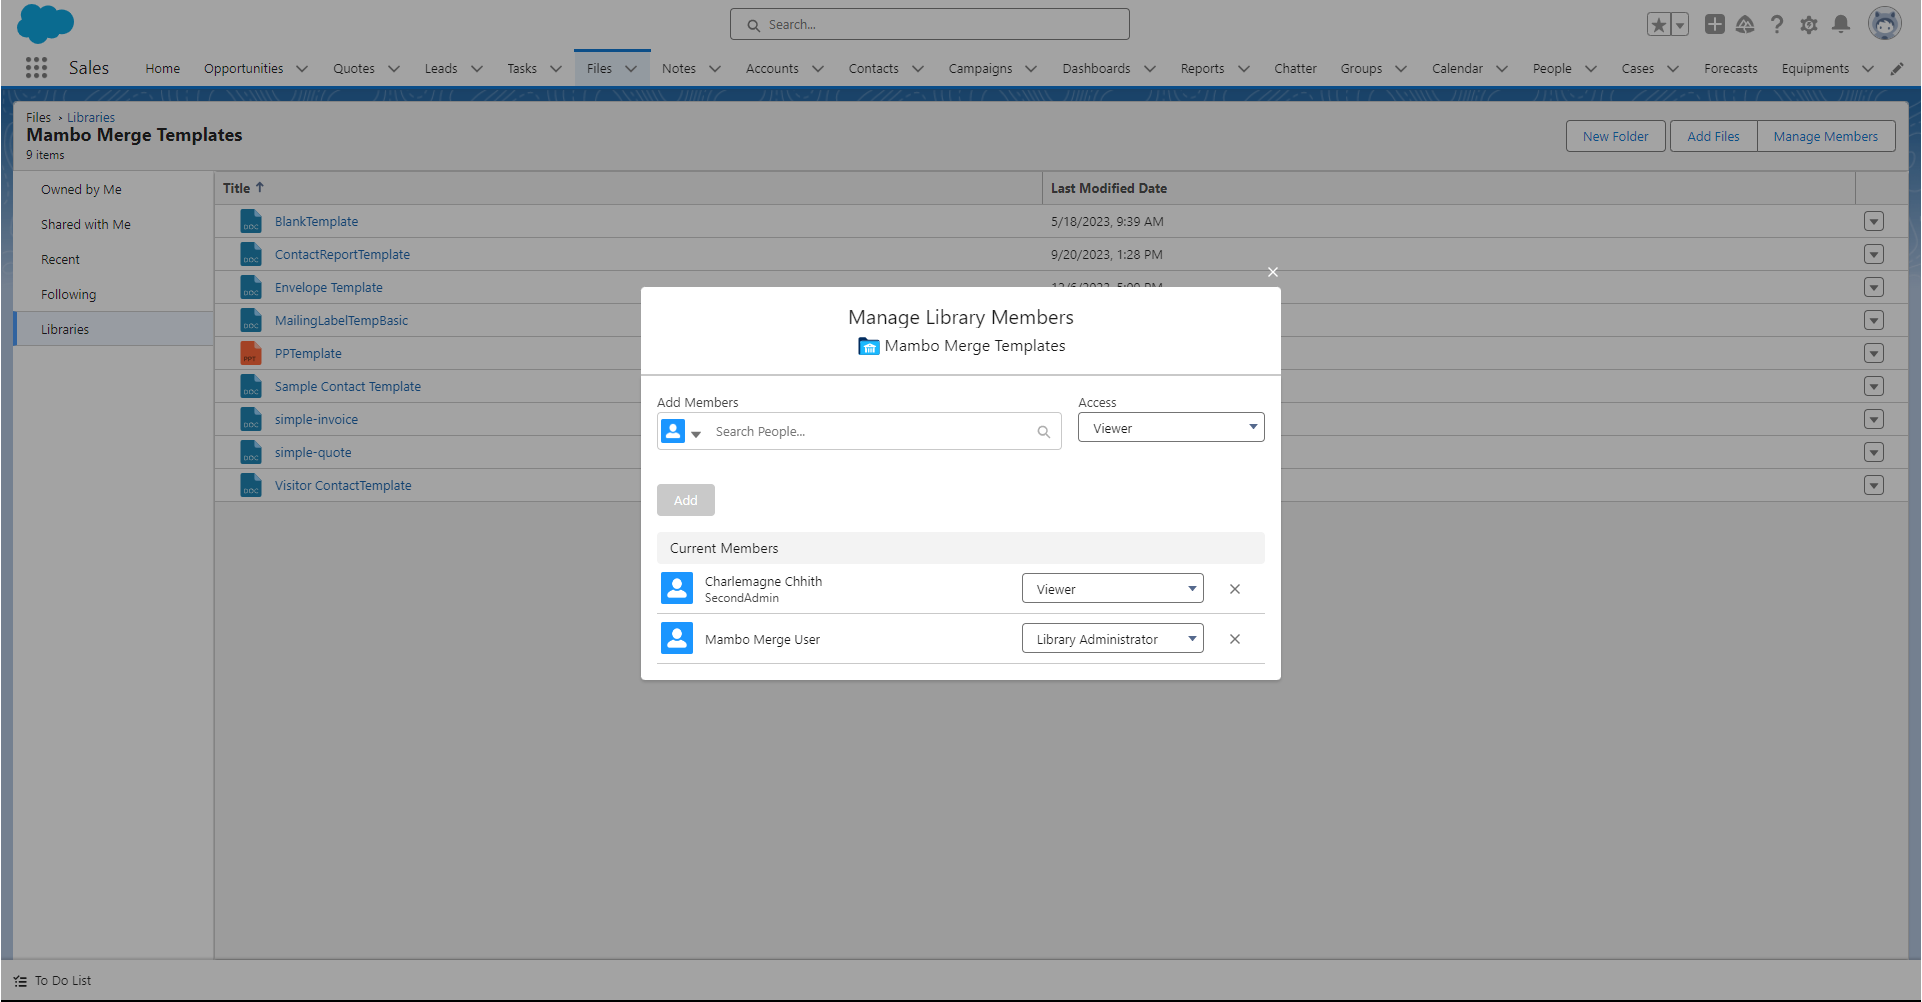
Step 4 - Click Manage Members ↵
In the Right corner below the Tab bar, click Manage Members.
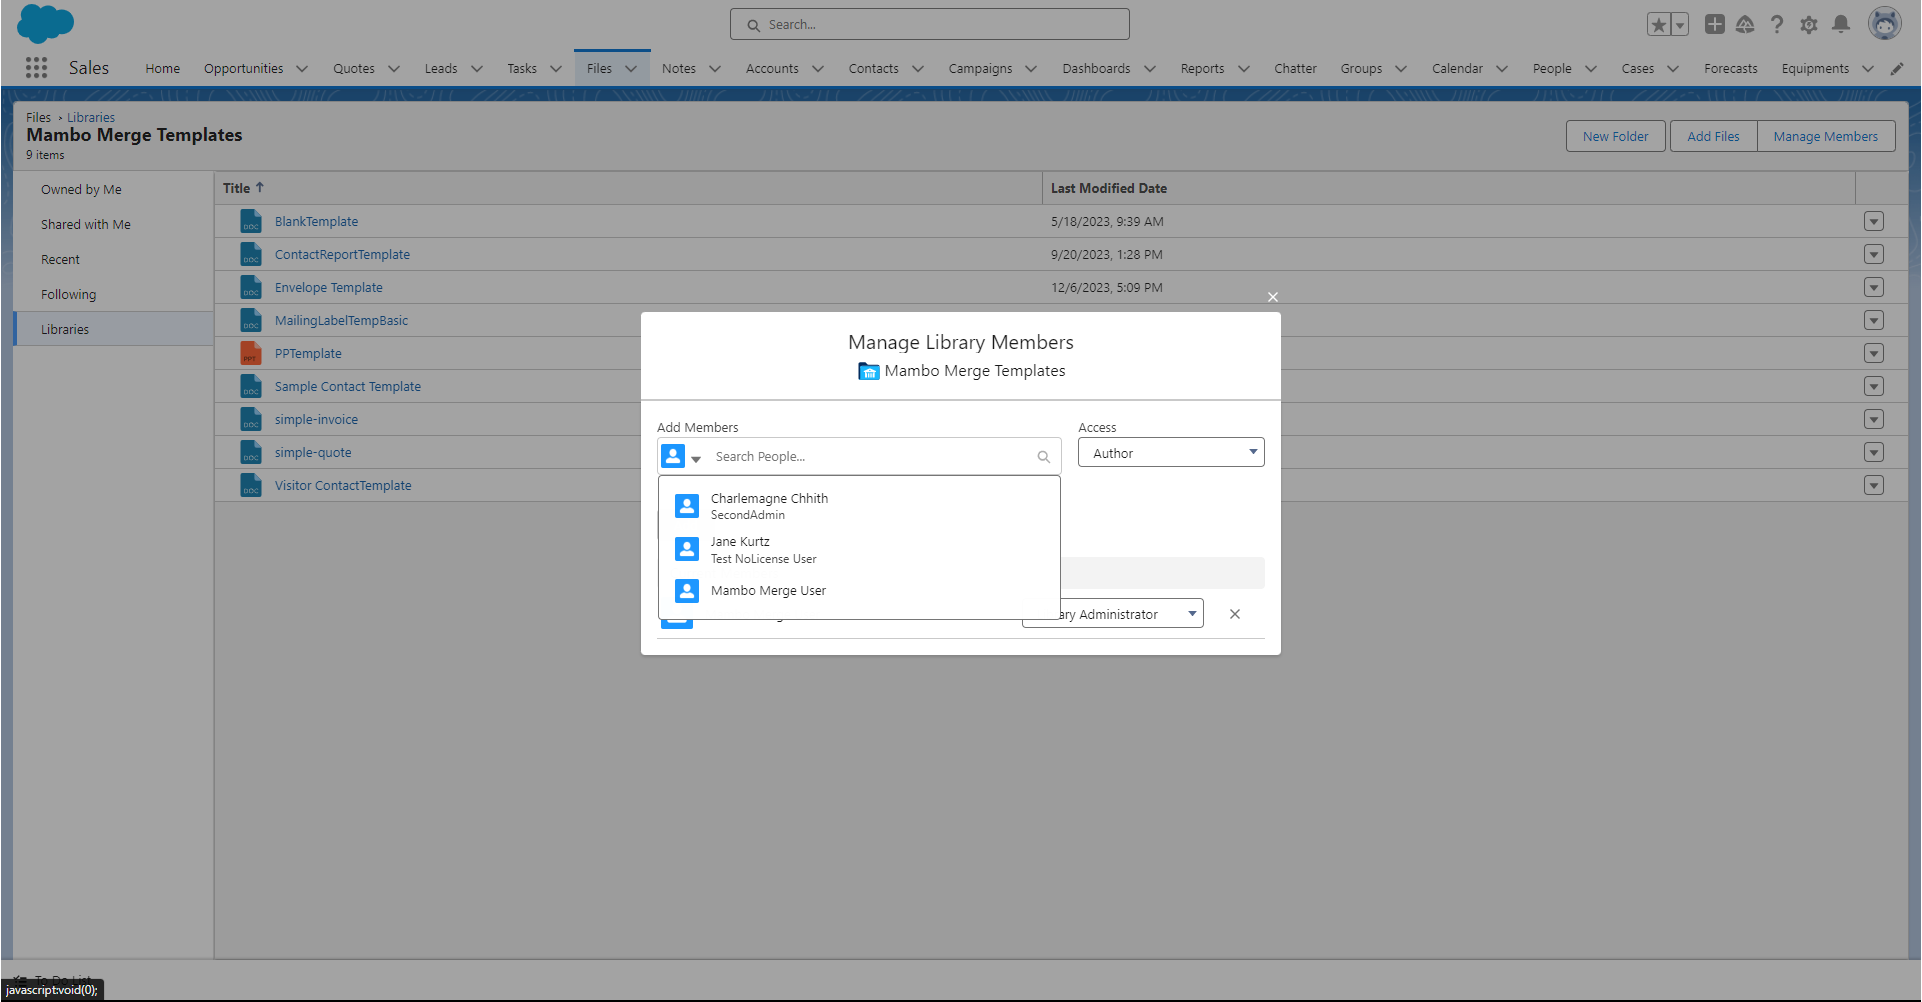
Step 5 - Add Member ↵
A Screen will appear in the center of the screen. You can search for Users or Groups to share access with and choose the level of access granted.
5.1 Choose People or Public Groups

5.2 Search the Catergory
In this example, People was Selected. Suggested Users are displayed, but you can type in the search to find the User or Public Group needed.
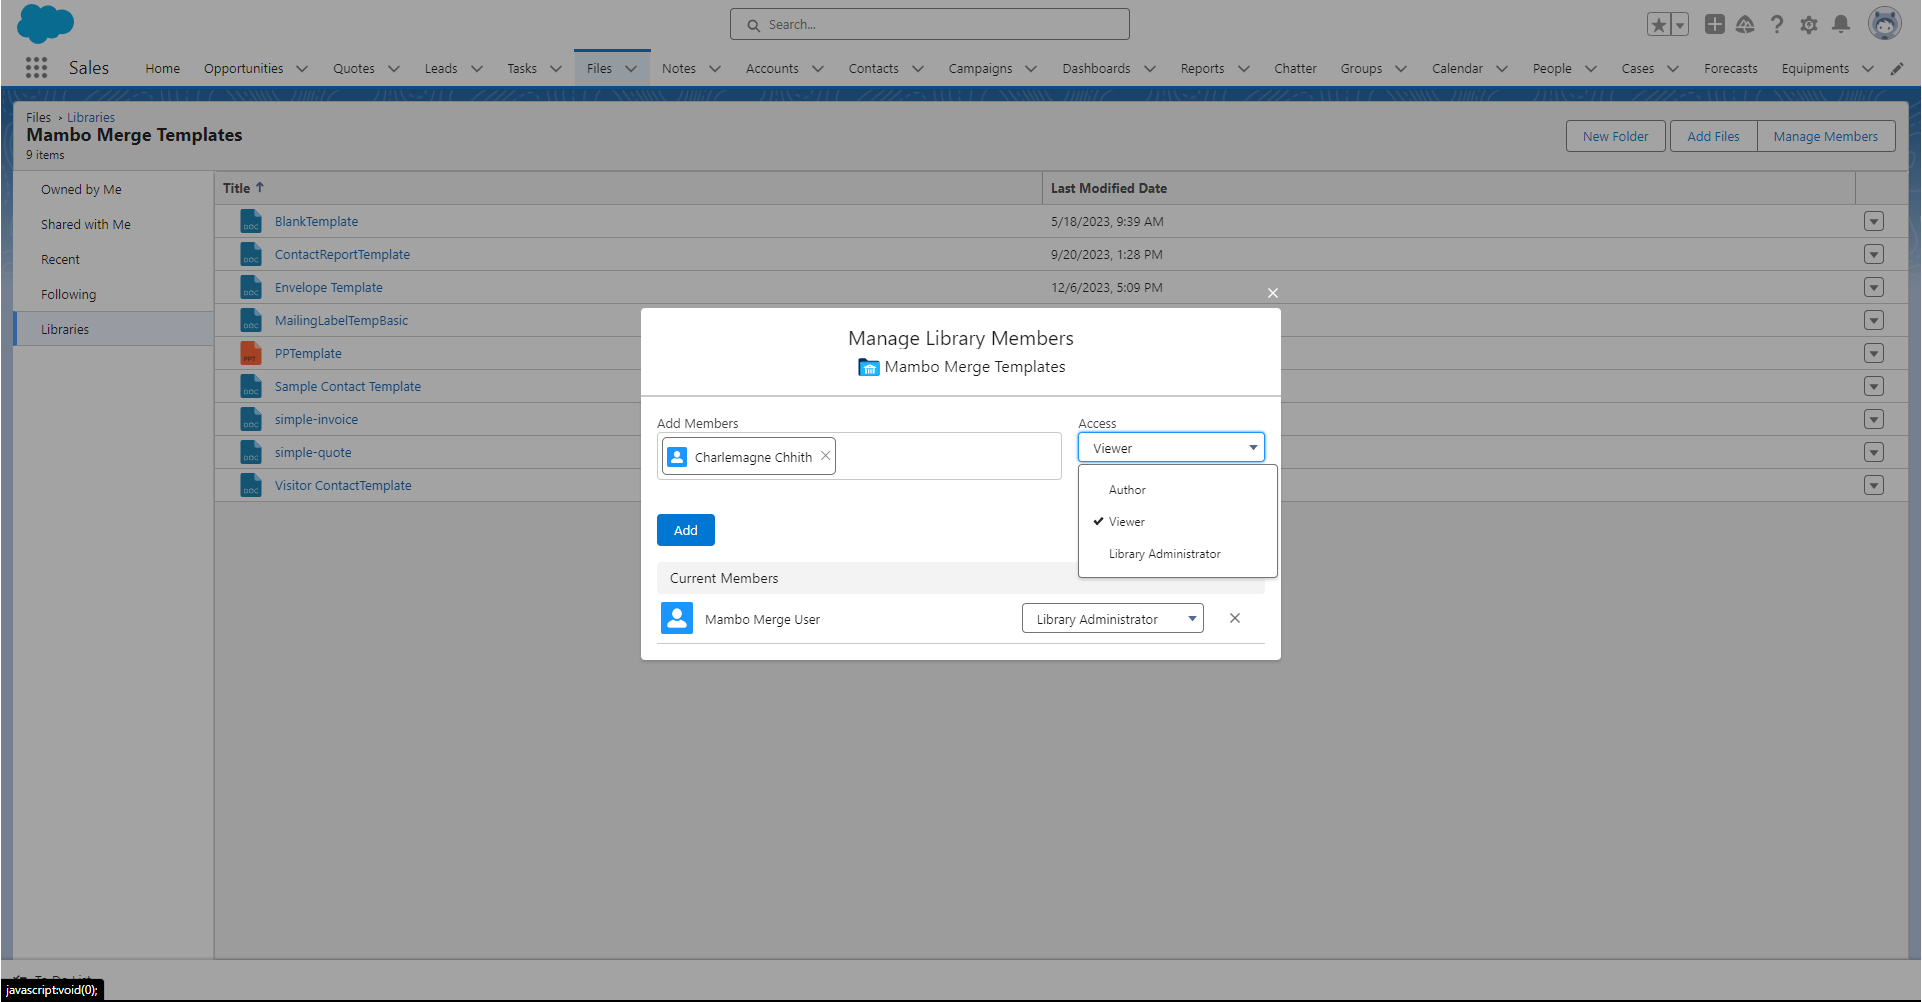
5.3 Set Access to Viewer
For Users to be able to see the File, or use the Template file in Mambo Merge, they need the minimum access Viewer.
Ready to Share! ↵
By using libraries, File and Template sharing is simplified across your Org. No need to worry about who does and does not have access to the documents they need.