2.3.5 | 3/2/2024
Step 2: Click on Libraries | Step 3 - In top right below the tab bar, click “New Library” | Step 4 - Fill out input fields with Name, Description and Library Image | Step 5 - Save your Library.
Creating a Library in Salesforce
Through Libraries, Users can organize, share and manage others’ access to files.
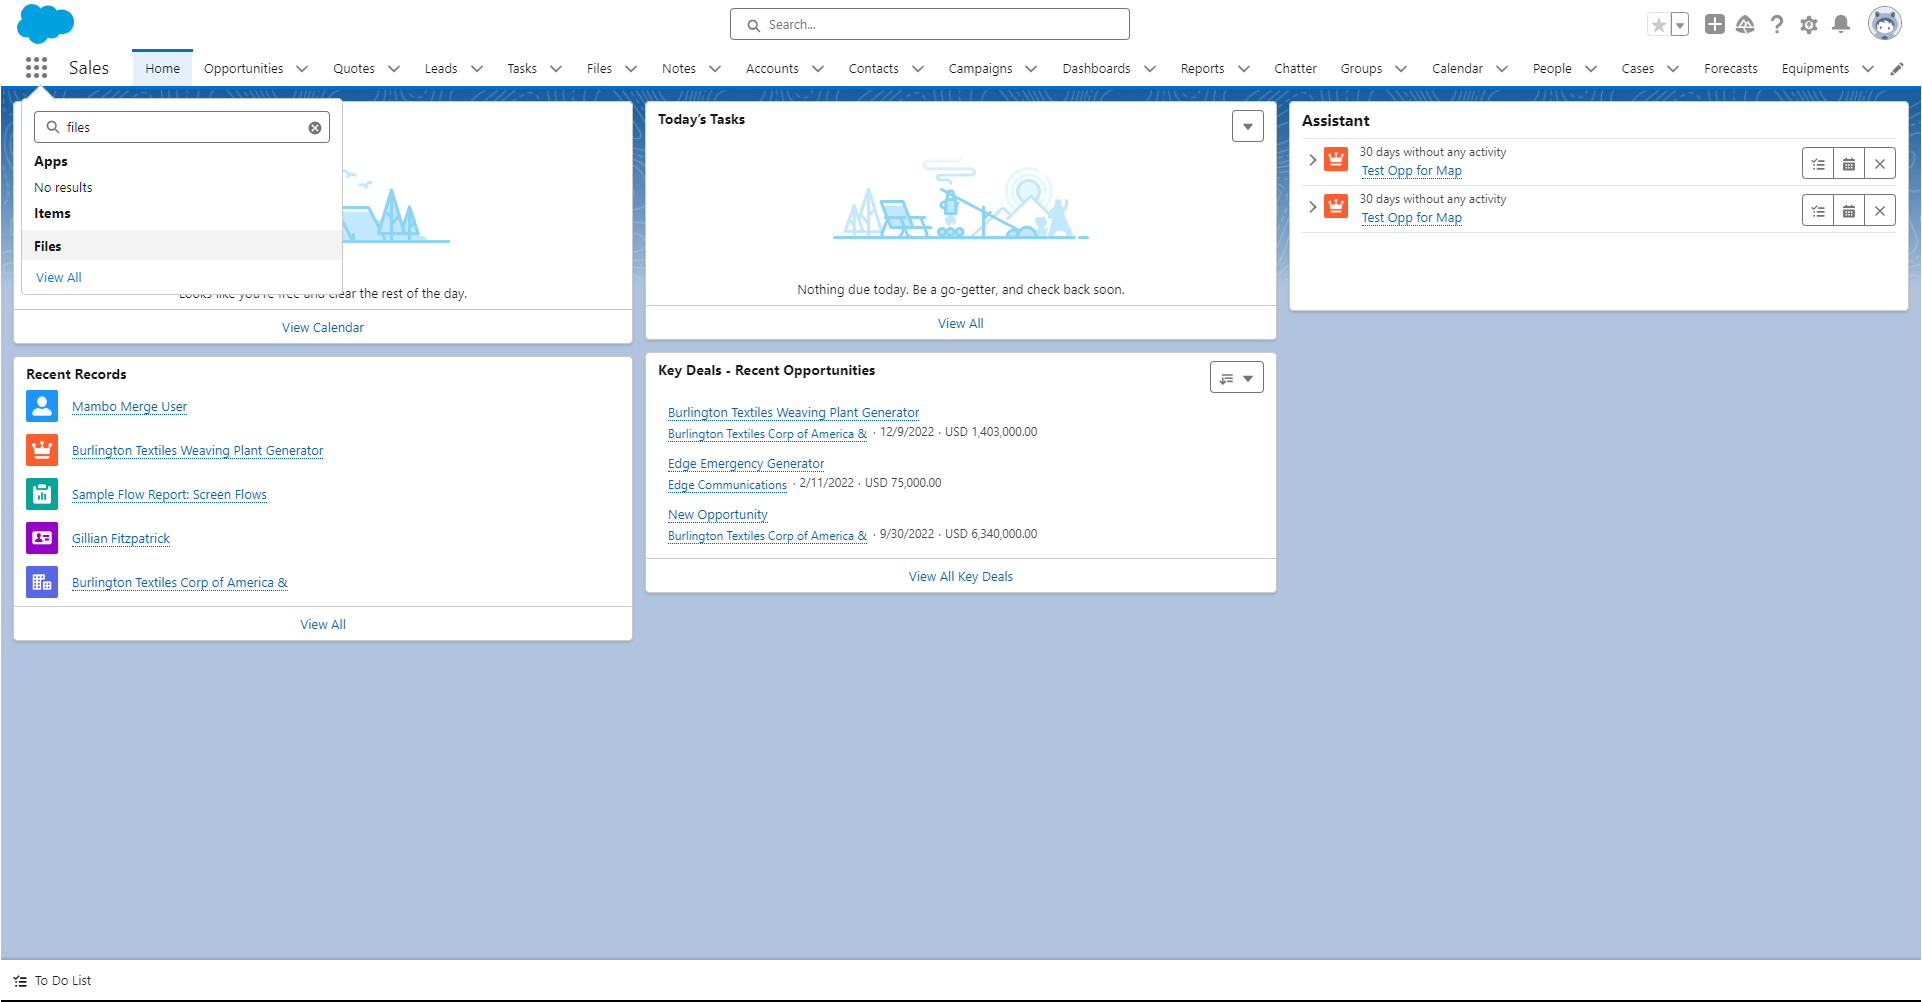
Step 1 - Go to Files. ↵
Click on the App Laucher and search Files or Select Files if there is a tab labeled Files.
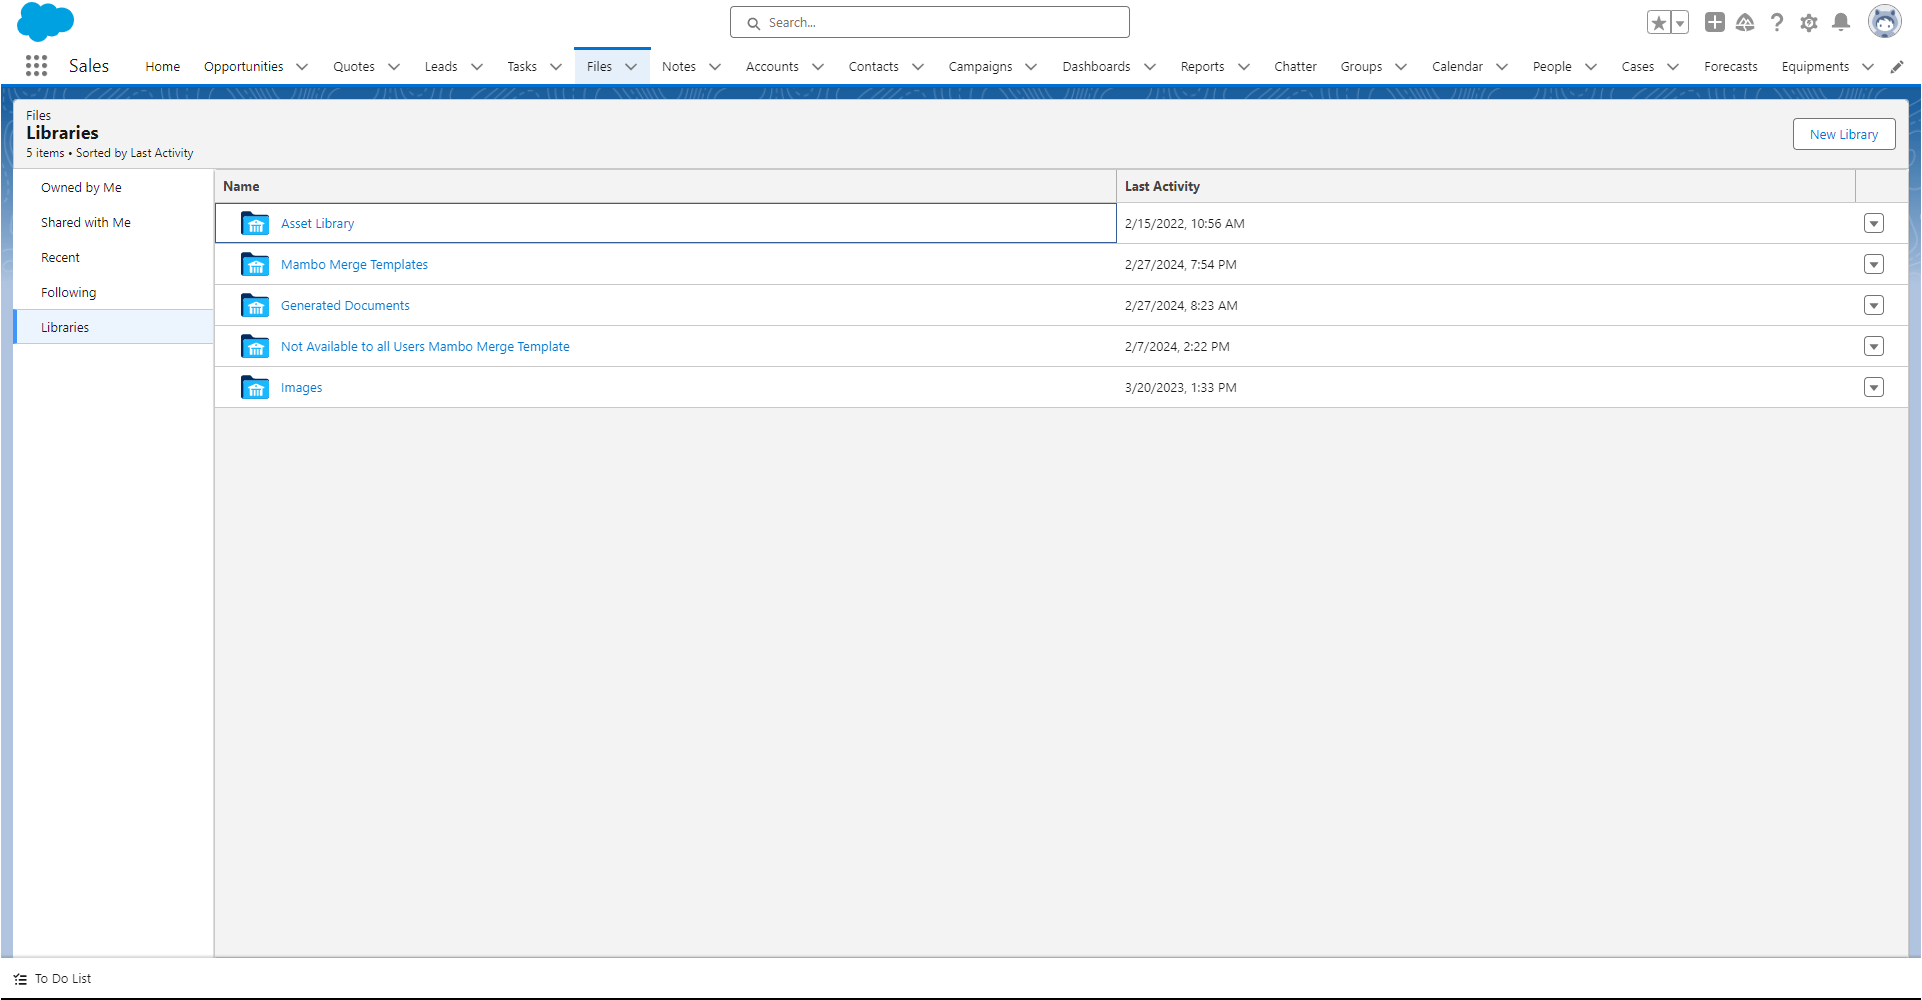
Step 2 - Click on Libraries ↵
On the Left side of the Files Page, Click on Libraries.

Step 3 - In top right below the tab bar, click “New Library” ↵
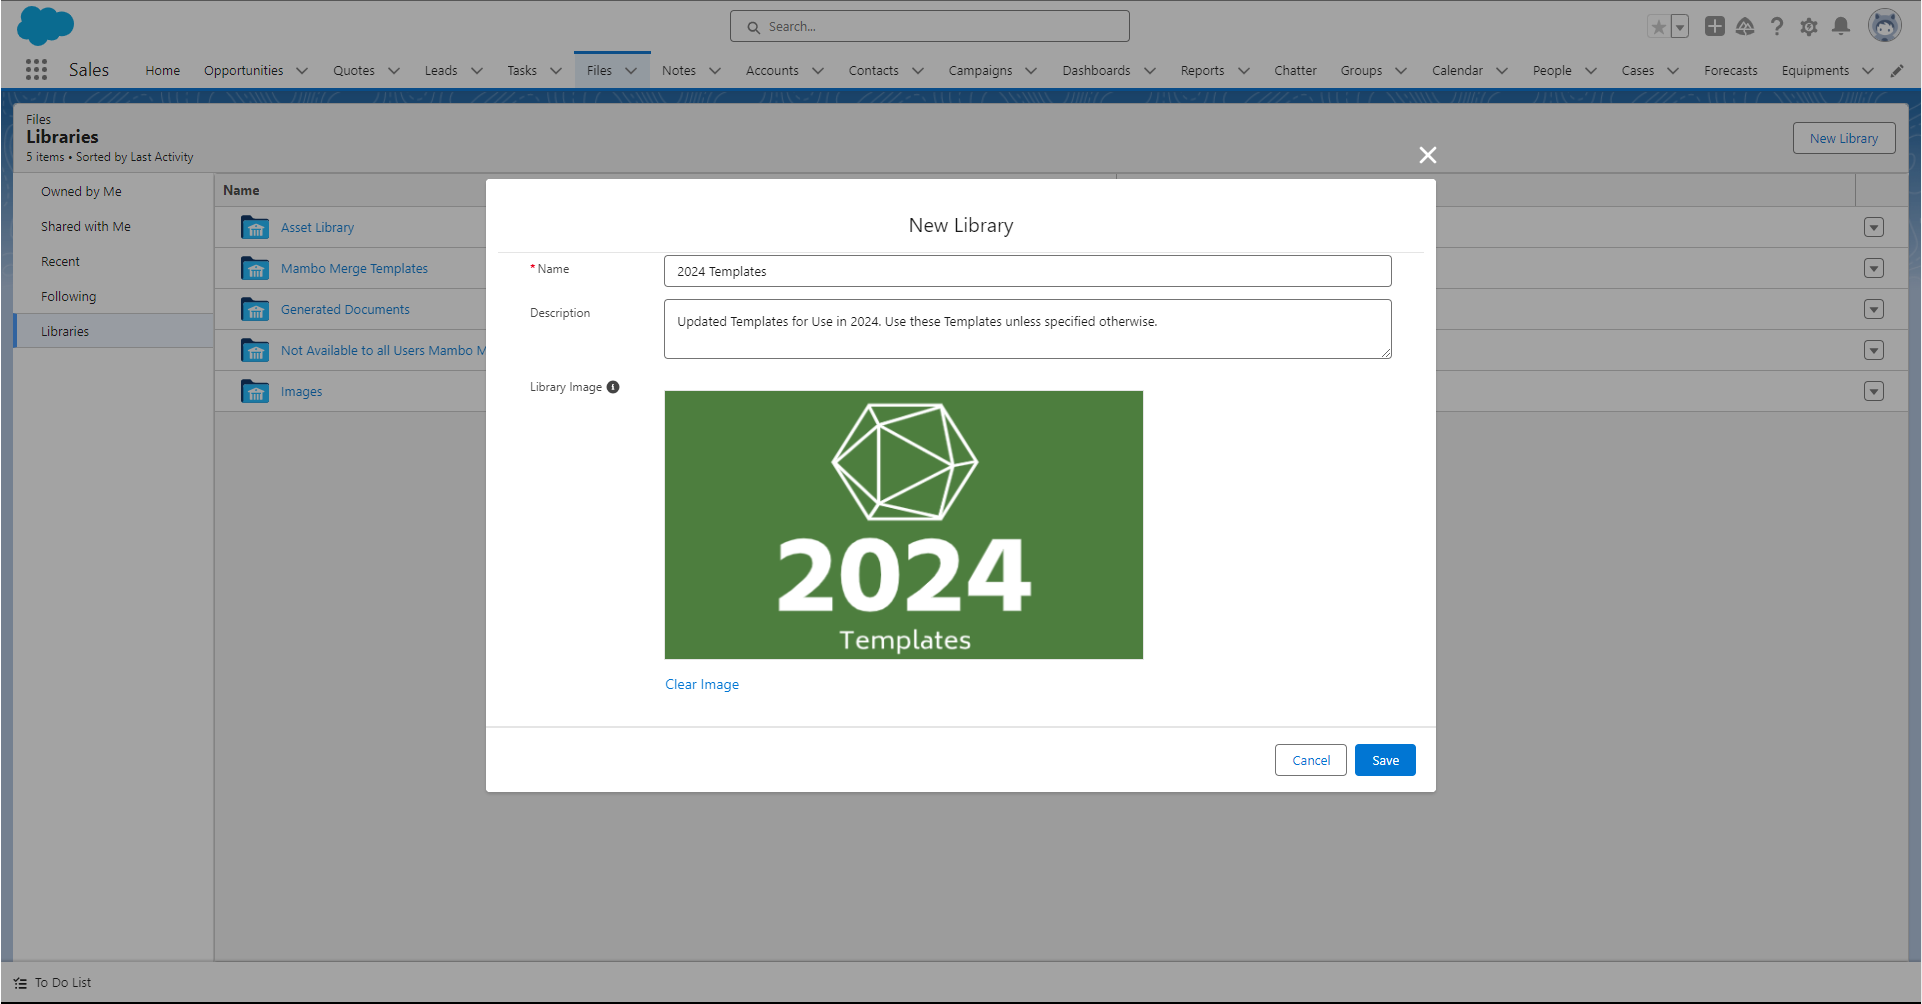
Step 4 - Fill out input fields with Name, Description and Library Image ↵

Note: All Users can view the image assigned to Libraries even when they are not members of the Library. Images work best with a 16:9 aspect ratio.
Step 5 - Save your Library.
Now, you can add existing Files in your Salesforce Org or add Files from your local PC.
Check out our other articles to add files or share your library with other users.